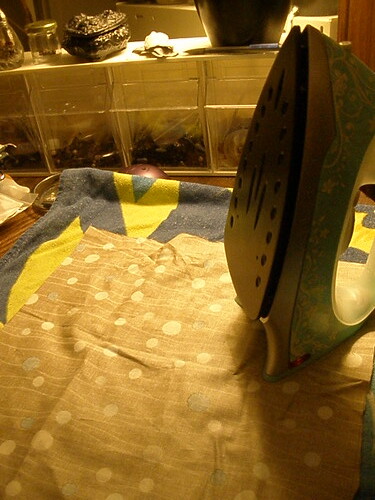
First, I pressed the fabric I wanted to use. It's been folded into a drawer for who knows how long, so I thought it'd be good to drag it out, instead of using newer stuff.
Next I gutted a book that was damaged and destined for crafting anyway. I needed the covers only, so I even took out the spine, because it was far thicker than the Kindle. The pages are going to another project.
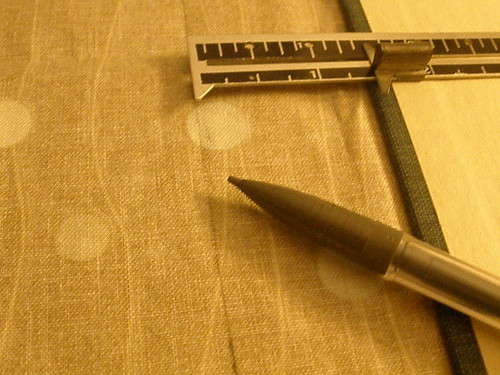
Next, I measured out the exact fabric I needed. I would have done this first, but it was so wrinkled that I didn't think I'd get an accurate figure. So out came Ma's old sewing box and this handy doodad:
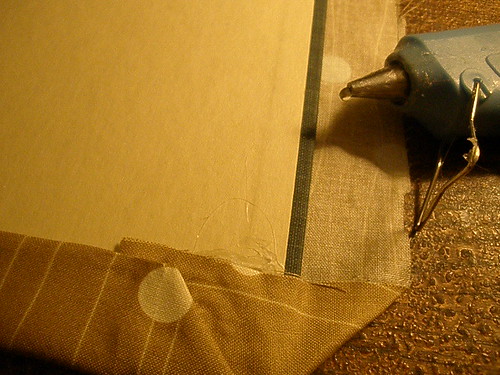
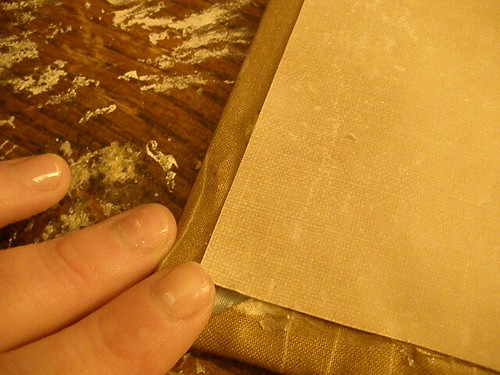
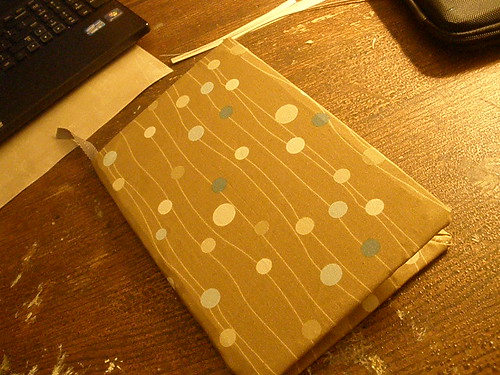
Next, it was time to start gluing. I tacked the corners down with hot glue and then the edges, pulling it taut, but not tight, since I wanted to be able to close the thing:
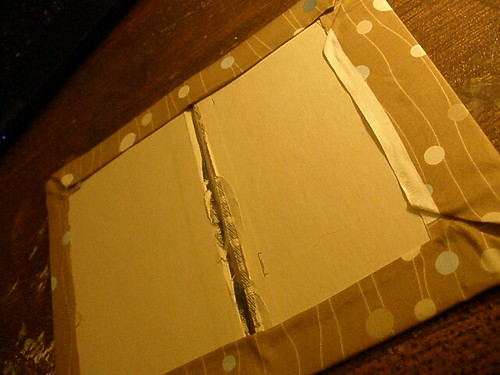
Some scrap booking paper served to cover the seams:
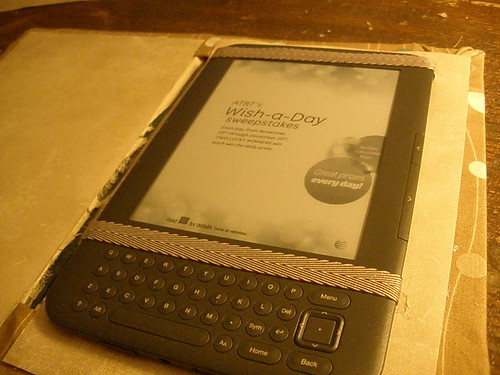
The straps were a bit tricky, and I needed both my hands, so I didn't photograph the steps. I pretty much eyeballed it. I wanted 2 ribbons where they wouldn't obscure the keys or screen. I held them around the kindle itself to trim them to a length where they were *almost* too short to go around it, plus 2 extra inches to fold under the device. I pinched an inch and glued it to the cover, repeated it for the other side, until I had restraints for the Kindle. Luckily, I got it right, and I was able to slide the reader in under the ribbons and have them hold. I wouldn't waggle the holder around a lot, but for regular use, the ribbons work.
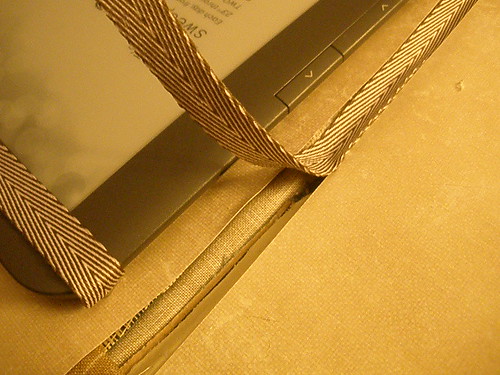
I glued some more of this pretty cotton ribbon down the "spine" to cover the little fibers from the book covers. I may replace this with wider ribbon in the future, since I dind't anticipate how much the covers would distort the spine area when folded back.
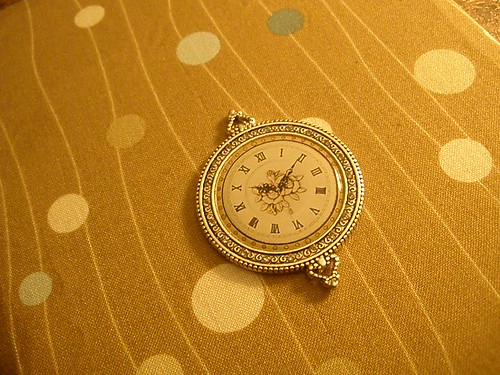
And here we are, with a little "bookmark" plume at the top! Almost done...
There we go!
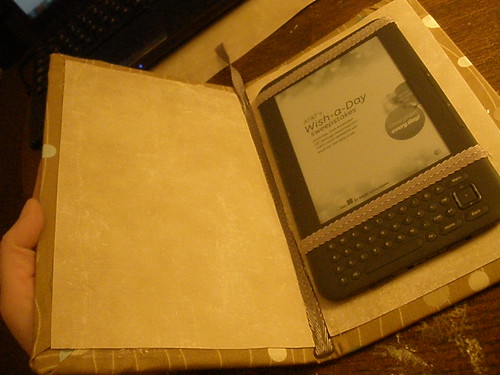
And it's working pretty well! If I ever make another, I'll play around with ways to reinforce the spine, since that's the most vulnerable part of the design. But for an afternoon's whimsy, this ain't so bad :)

No comments:
Post a Comment